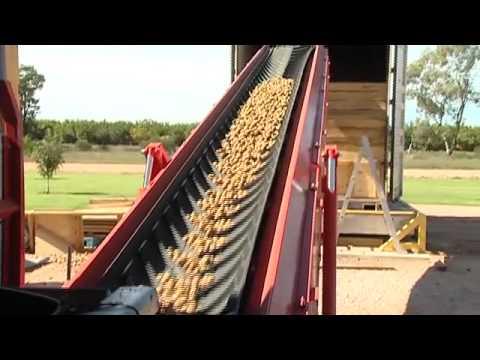
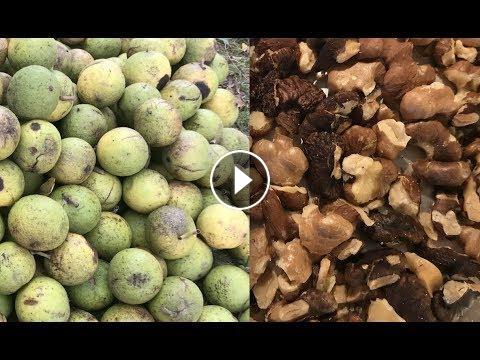
In this video, you will see harvesting, hulling, cleaning, drying, shelling, and roasting of black walnuts...every step from picking them up off the ground to getting them out of the oven.
Getting the hulls off was much easier than I anticipated, and getting the walnut out of the shell wasn't bad at all once I got the hang of it; I kind of enjoyed the challenge! The process takes a lot of work, but it was worth it!
A portion of the walnuts I cracked had shriveled, almost raisin looking "meat." Those walnuts were much sweeter, for some reason; my sons snatched those from the bowl as quickly as I could crack them. The others had a distinct and interesting walnut flavor, a stronger flavor than walnuts you might buy at the grocery store...but good! My wife just made a batch of pumpkin chocolate chip cookies with a bowlful, and they are outstanding.
A few things I forgot in the video:
WEAR GLOVES! These things will stain your hand for weeks! My first batch of walnuts, I had a small hole in my glove and I had to wear a bandaid over that finger for more than a week to hide the discoloration of that one small spot.
Black walnuts trees and nuts contain a chemical called juglone which is toxic to some plants. You might want to do the messy part of the cleaning process at the edge of your yard (not on or around plants that you care about).
It was roughly 2.5 weeks from the time I cleaned the walnuts to the time I cracked them. We had unseasonably warm weather though, so that might be a little faster than usual . Drying the walnuts makes the outer shell brittle and able to be cracked.


